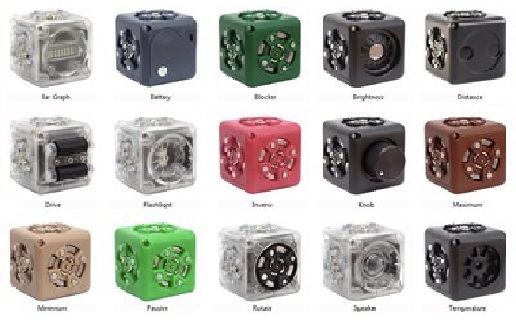
Over the last year or so, I’ve done a number of programs using Cubelets. For anyone unfamiliar with them, they are cube-shaped modules that connect to one another magnetically to create ‘robots.’ Each module has a single function. There’s a power Cube, that contains the rechargeable battery, and the On/Off switch. The rest are divided into ‘ Sense Cubes,’ ‘Think Cubes,’ and ‘Act Cubes.’
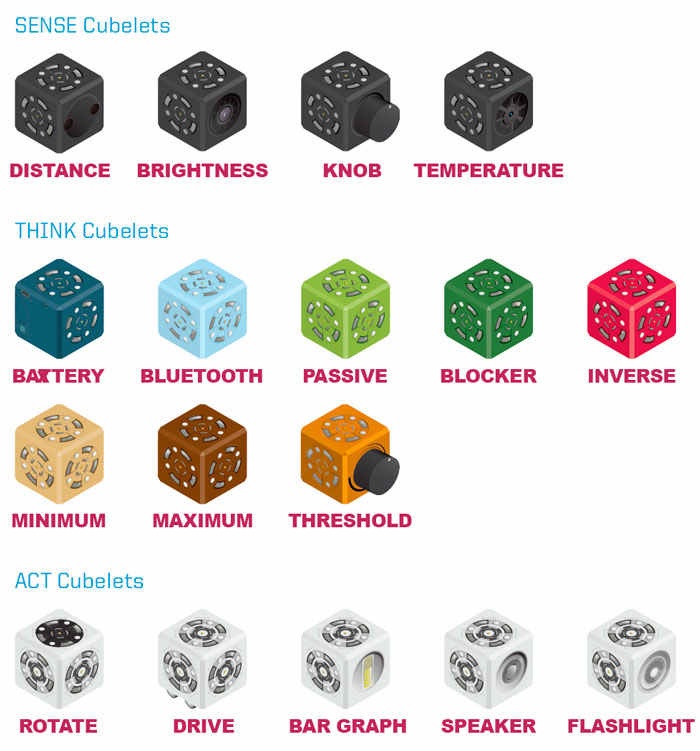
The Sense Cubes in the kit I have access to are modules that have light sensors, and distance (proximity) sensors. The Power Cube is also the processor for the robot. The action cubes include cubes with wheels, one with a light bulb on one side, and one with a spinner that looks like a very tiny record player and LEGO type knobbies on it. The kit also includes a Reverse Cube, which will reverse the data passing from the Sense Cube on one side of it to the Action Cube on the other. That will reverse the performance of the Action Cube. There’s a Blocker Cube, which blocks data from passing through it to other cubes in the construction. There’s a Bluetooth Cube. Finally, there is a Cube that serves as a weight balance when needed. There are many more Cubelets available, but the kit I use has these, and we’ve had a lot of fun with them.
Before the program begins, I usually lay the Cubelets out on the floor according to their function – Sense Cubes together, Think Cubes together, and Action Cubes together. We work with these robots on the floor, because they don’t recover well from being dropped. Each team gets a Power/Brain Cube. When the participants have arrived, we sit in a circle on the floor, and I have a set of the Cubes we’ll be using beside or behind me. I start the program with a discussion about what a robot actually is. We usually end up with a definition something like:
A robot is a device that senses the environment, or some aspect of the environment, processes that information/data, and responds to the information by performing an action of some sort.
That leads me to an explanation of the Cubelets, starting with the Sense Cubes, then the Think Cube and finally the Action Cubes. As I explain, I show the Cubelets, and begin putting them together. By the time I’ve finished the explanation, there is a completed robot on the floor in front of me. I ask the members of the group what they think that robot senses and does. After everyone has had the opportunity to say something, I turn it on and everyone discovers whether or not they were correct.
Then the fun begins! The group gets divided into 3 teams, because that’s how many Think Cubes I have. Once the teams have been formed, I give them a challenge to create a robot that senses something (light or distance) and does something. I leave them to decide which Cubelets they will need to create their robots. They are required to talk the challenge over with their team-mates before going to collect the Cubelets they will use. Each team also receives a flashlight and a paper towel or piece of cloth. They are used with the light sensing cube to either increase or eliminate the amount of light it receives.
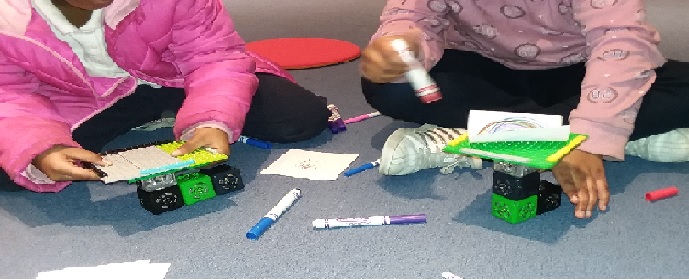
We’ve had a lot of fun with the Cubelets! The robot builders have created a train-like robot that they guide with their hands. They figured out how to attach the light sensor cube, and make it come on as the light in the room was reduced. They created a balancing robot, and another that could ‘jump’ sort of, and another that would dance around, also guided by their hands. They figured out how to make their robots flea from, and then follow them. One day I created an obstacle course before the program, and the challenge that day was to create a robot that could go from the starting point to the finish line without being touched. That led to wonderful chaos, and loads of cheering!
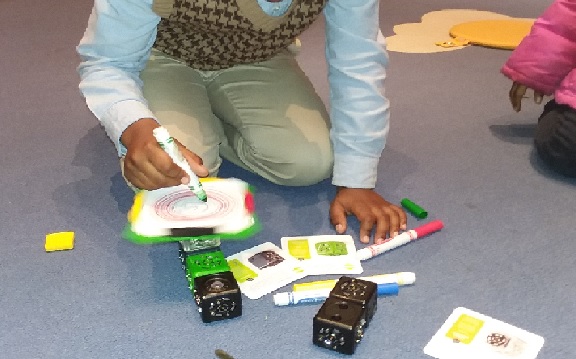
Another day, I prepared before the program by using LEGO’s to create flat squares about 4-5′ per side, with a ridge around the outer edge. Then I cut lots of white paper squares to fit just inside the ridge. When the program began, the challenge that day was to create a robot that have a spinner on top. When each team had a working robot, I produced the LEGO tablets, paper, and markers. We attached the tablets to each robot, laid a piece of paper on each tablet, and turned them on. For the rest of the program, everyone took turns creating tiny masterpieces of spin-art. That was one of the most popular Cubelet activities.
There is a website, of course, with all kinds of information about Cubelets. The site has a special area for educators, which includes lots of resources and printables. There are also self-paced courses for educators, so that they can familiarize themselves with the little modular robots. There are also lesson plans and activities, as well as challenge cards that can be printed, laminated, and reused. And for those who prefer video instruction, there are those, as well.

Leave A Comment