With the weather finally warming up, we decided to focus our latest STEM program on something fun and practical: vermicomposting! This was an hour long program for 16 kids in grades 3-5 with all supplies provided by the library. Here’s what we did.
In the days before the program, we prepped all the supplies. Each participant received a shoebox sized plastic bin altered for vermicomposting. This required staff to rinse the bins ahead of time, cut about a 2.5 in by 1.5 in rectangular hole on top of the lid, and hot glue a mesh square covering the hole. We recommend drawing the rectangle before cutting with a razor blade and having mesh squares about a half inch larger than the hole. Additional supplies you’ll need include newspapers, water bottles, and worms.
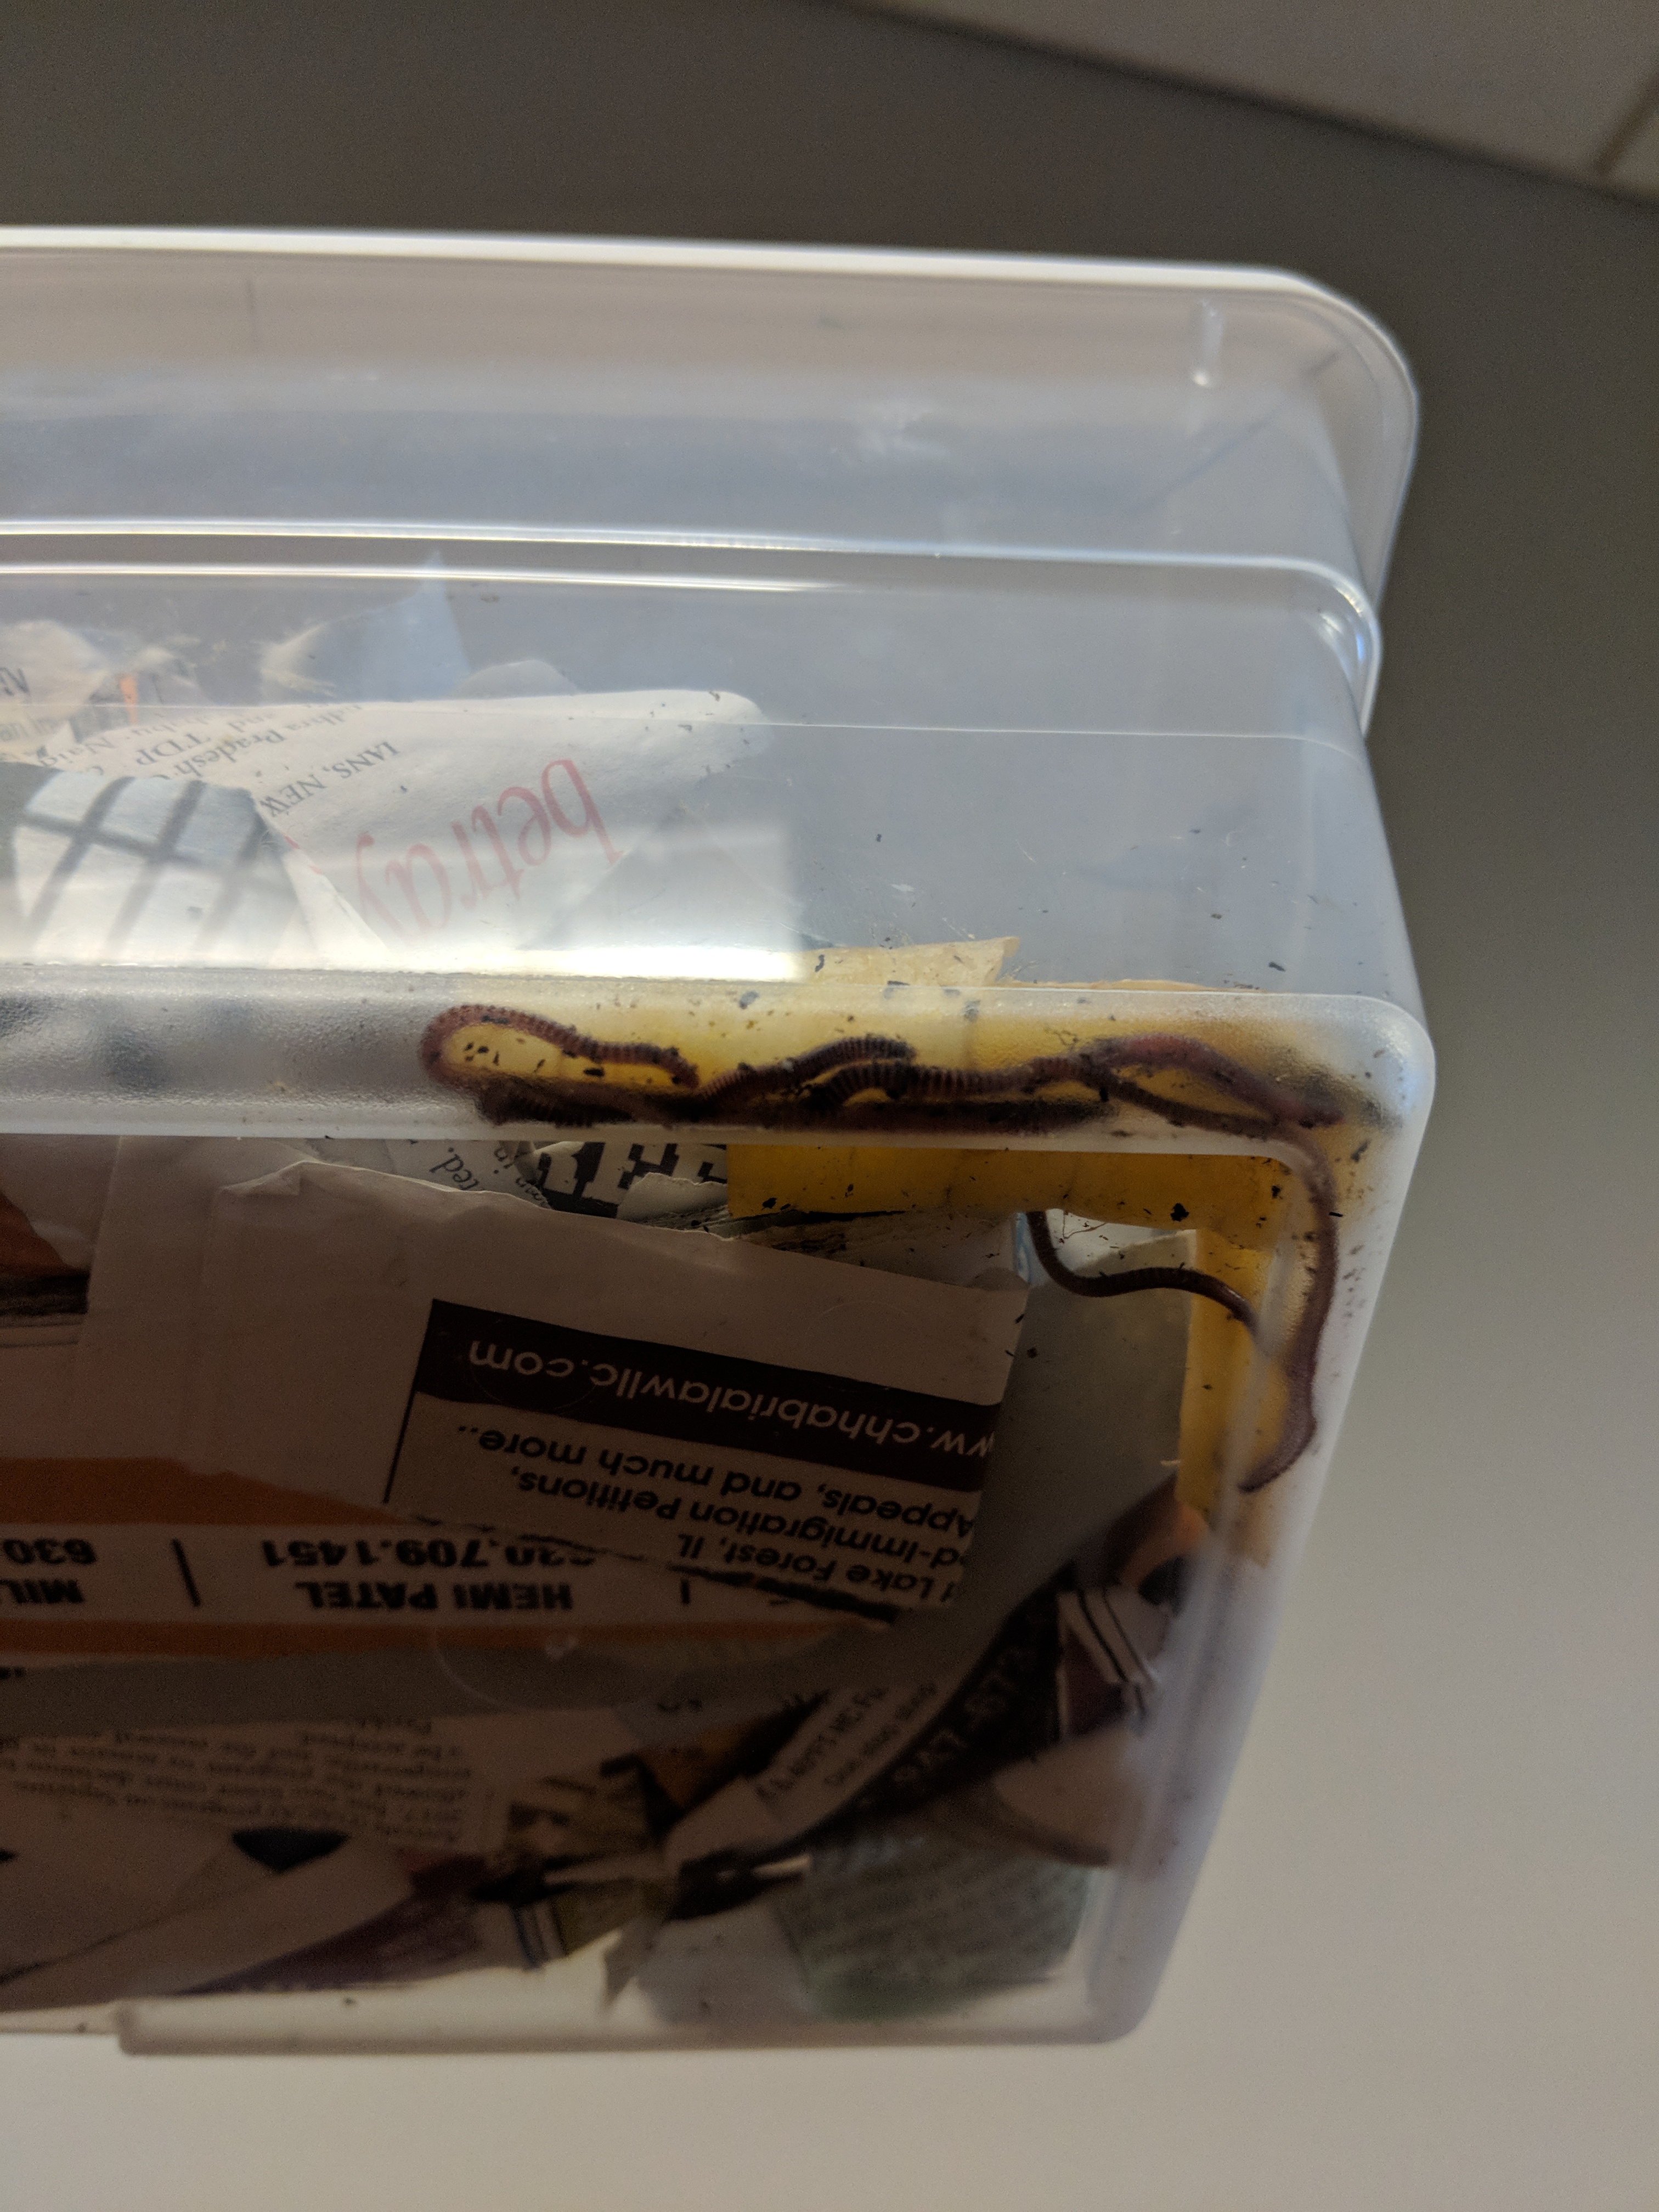
Red wiggler worms in a compost bin.
Once the bins were prepped, we visited a local bait shop to purchase red wiggler worms. We chose red wigglers because they are excellent for composting and are a native species. One container of red wigglers cost about $4 and had enough worms to give each participant 3-4 worms.
The program began with a discussion about composting. We asked participants what they knew about composting, including what could and could not be composted and how they could use compost, both solid and liquid, at home or in school. A handful of local schools actively compost so many of the kids were informed and shared great information with the group. We also talked about the positive impact of composting, adding a civic engagement element to our STEM program.
After establishing an understanding of composting, we moved the discussion topic to worms. We asked similar questions, like what do you know about worms and why are worms important to our ecosystem. Then a visiting library student shared information about red wigglers specifically. We wrapped up the conversation portion of the program by connecting our topics to then explain vermicomposting.
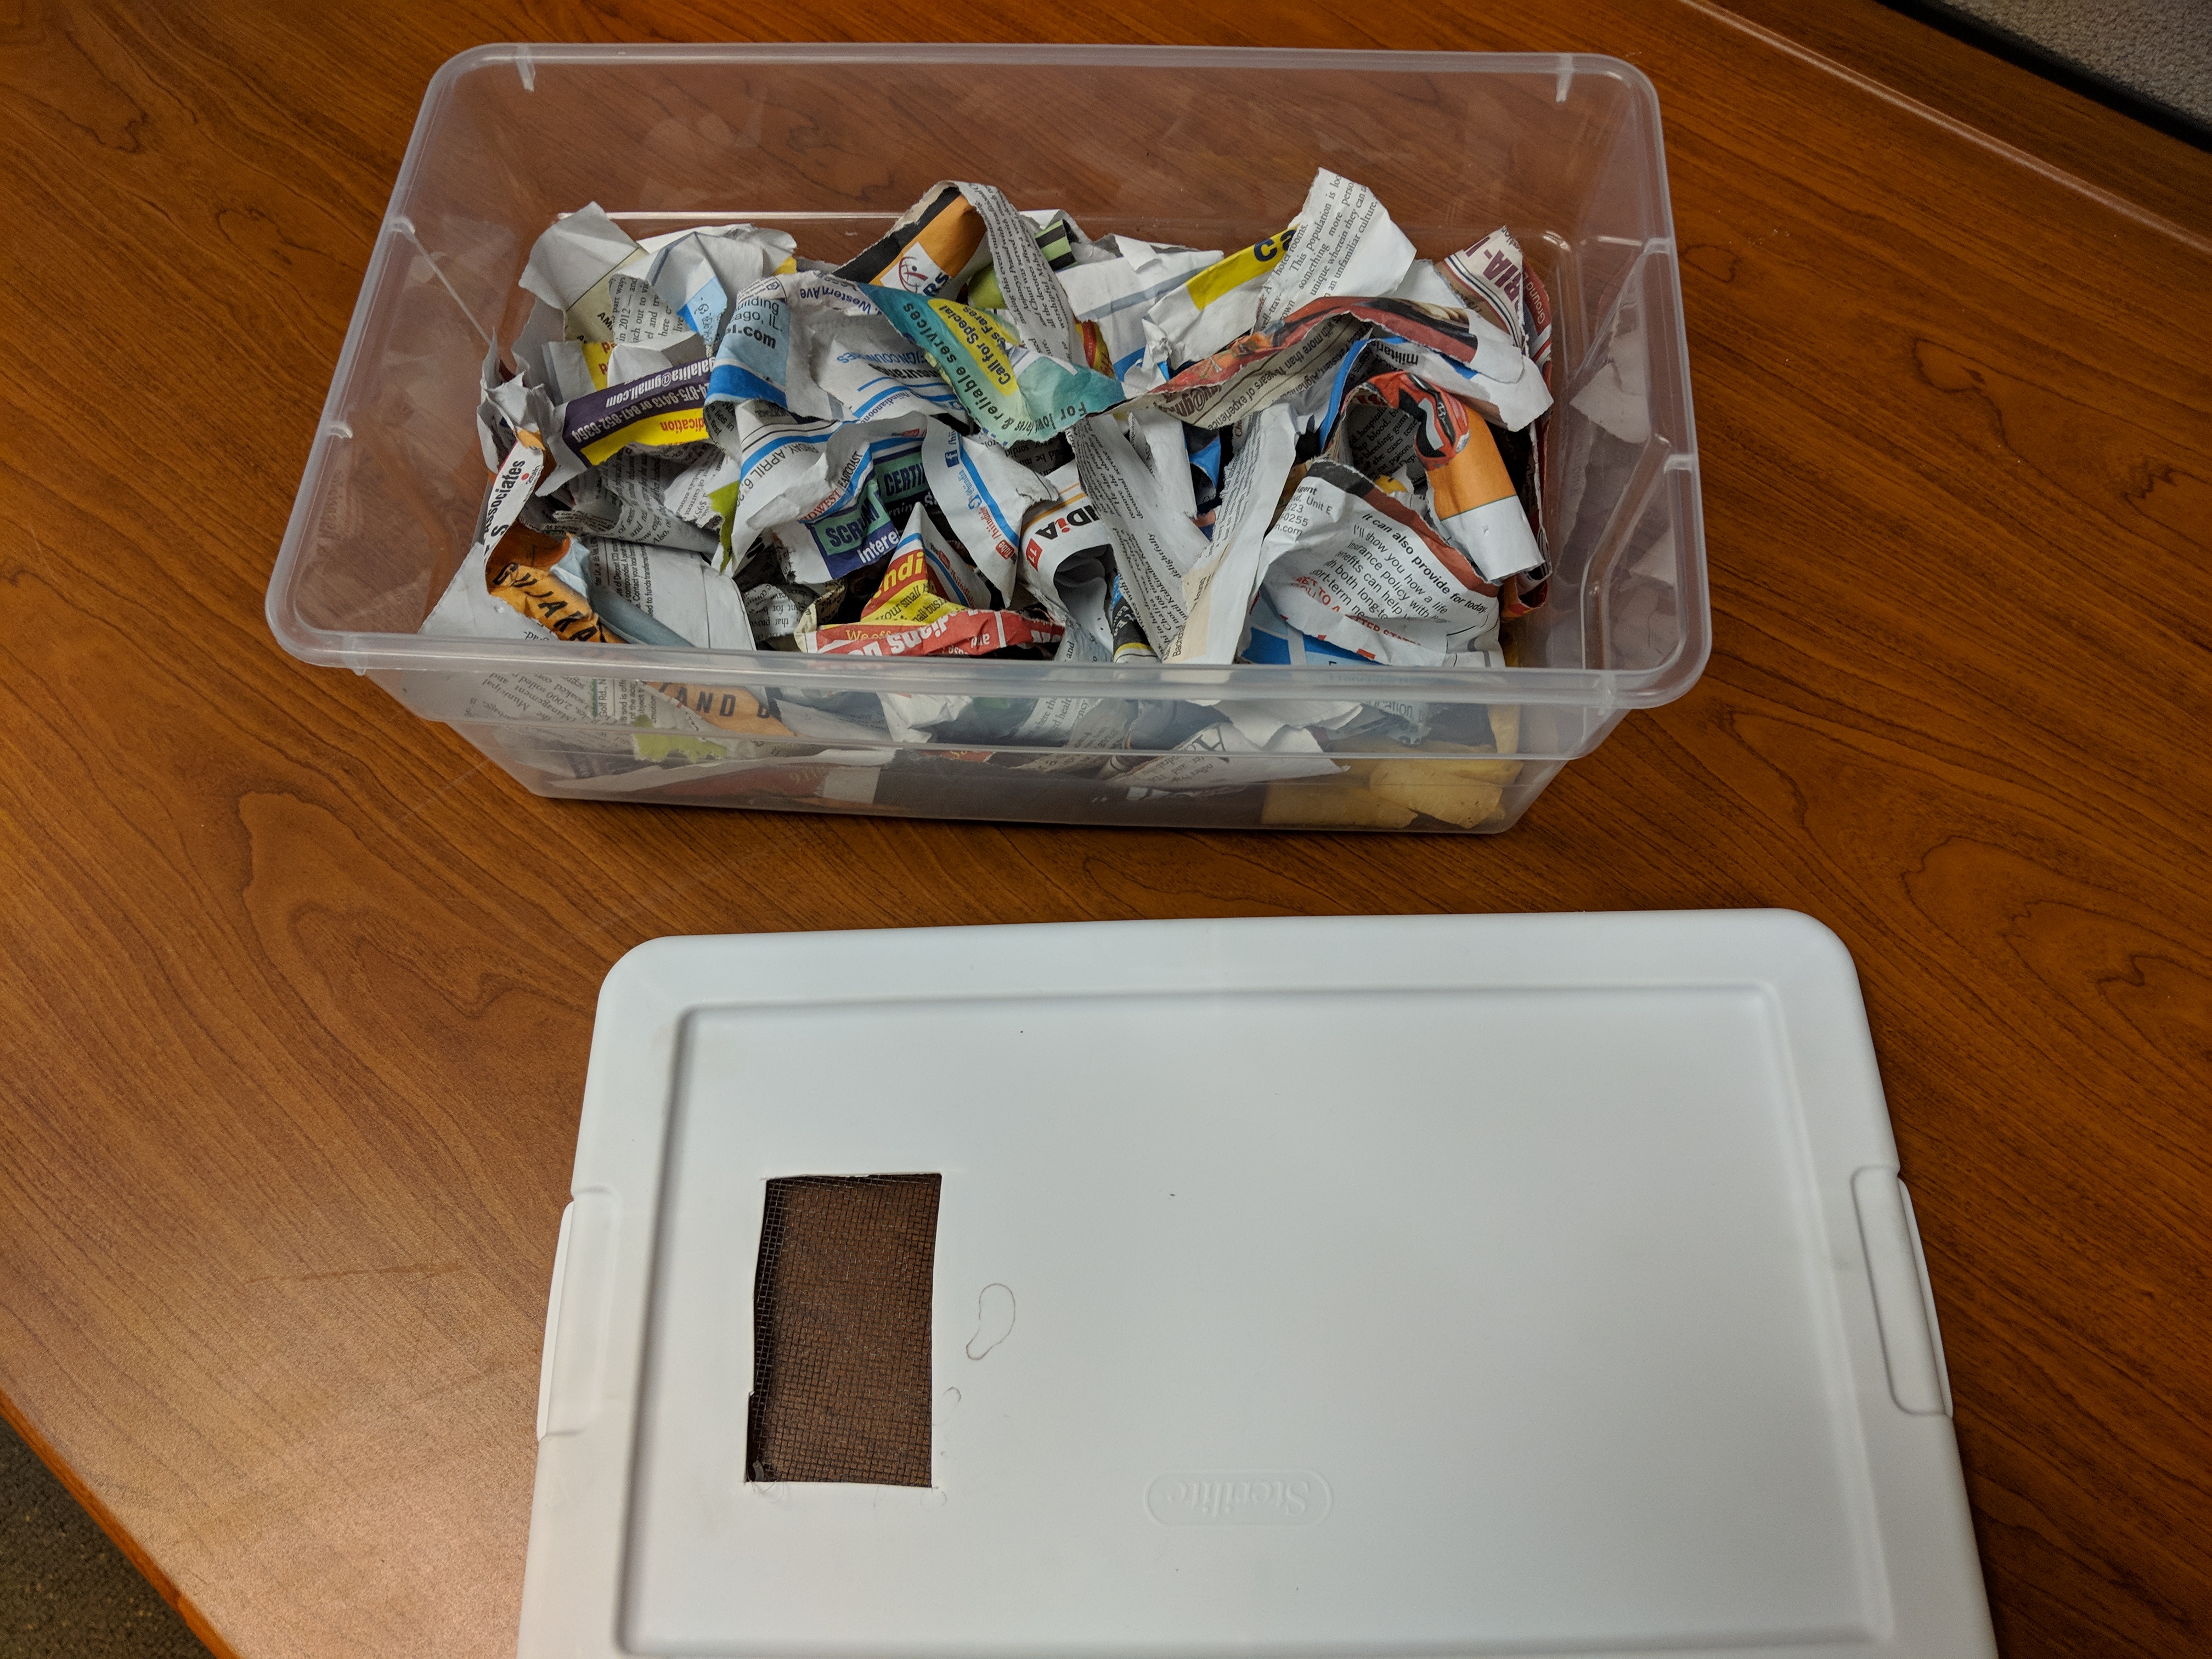
Parts of a vermicomposting bin.
Before supplies were passed out, we talked about the steps required to make a vermicomposting bin, where participants can store it, and how they can care for their worms. Then staff passed out the bottom of the bins to each participant, who began by making the bedding for their worms using newspaper strips. Everyone shared water bottles to dampen their bedding, creating a cozy home for their worms. Passing out worms and lids were the final steps. Once the worms were out, the participants could really only focus their attention on their new animal friends. Some were really excited to hold their worms while others just asked staff to place them in their bins.
As participants left, staff passed out care sheets to adult caregivers. This was a registered program with details shared in advance. However, we did have three kids who could not take their bins with. So we found new homes for these bins in the library. If you do choose to pursue this topic, we encourage you to clearly share expectations of the program and also consider what you can do with any leftover worms or bins in advance. Happy vermicomposting!

Leave A Comment