This week at the Depot Park, we braved threatening thunderstorms, rain, and high humidity to learn the dirt on soils! Using both fiction and non-fictions books, we introduced the topics of soil, dirt, and mud before studying different types of soil, modeling the concept of percolation, making model soil horizons, and mud painting.
 Over the two days of the program, we introduced the theme with the books Mud Puddle, by Robert Munsch,
 and Miracle Mud: Lena Blackburne and the Secret Mud that Changed Baseball, by David A. Kelly. Both adults and kids were astonished to learn that the miracle mud of the story is still used, 75 years later, for all new balls in professional baseball! We also used the non-fiction book Dirt: the Scoop on Soil, by Natalie M. Rosinsky.
 We started by comparing different types of soils with magnifying glasses. Several different
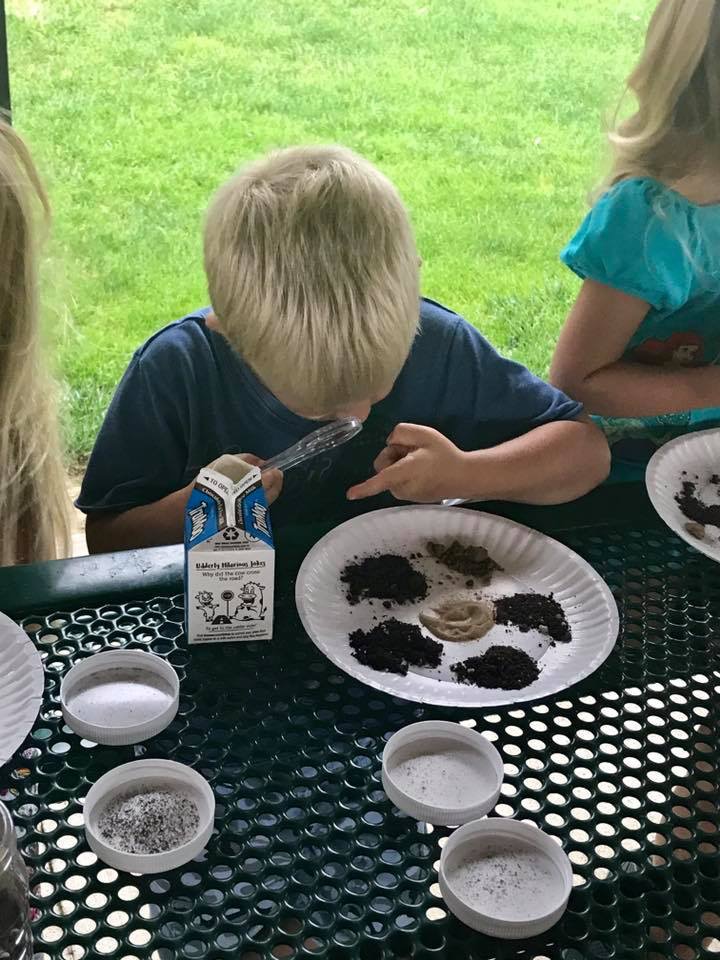
 samples were spooned onto a paper plate for each student to study- potting soil, seed starter, cactus soil, sand, dirt from the library’s construction site, and dirt from my home garden were included. The kids were asked to look for anything that seemed different or unusual in the various samples, and to compare the color, materials, and size of grains.
Following this exercise, we translated the comparison of grain size into an activity which helps to visualize how water gets through soil in the ground. I introduced the vocabulary by talking about how water drips through coffee grounds in a coffee maker- originally called a “percolator”- and connected that to the concept of water percolation through the soil. Conveniently, there was a group from one of the local day care/day camp centers who was all dressed in matching bright orange t-shirts. This made the activity easy to follow visually. We did this by having one group of students represent soil particles, while the other represented rain water. 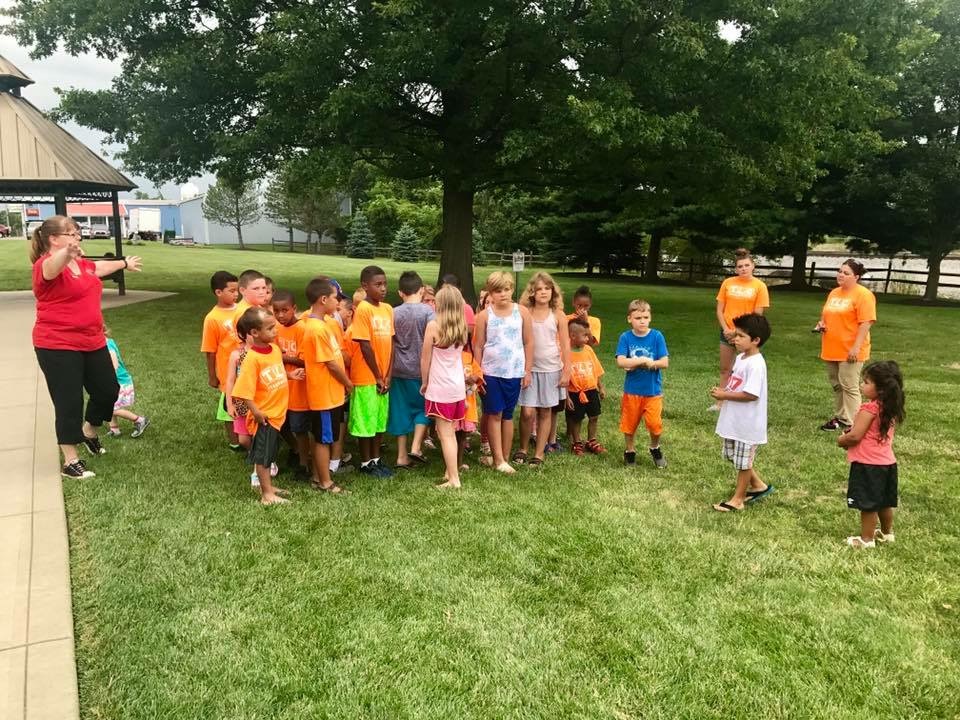 After further discussion of how different types of soil have different particle sizes, we had the “soil” particles stand in a group, either densely packed (like the particles of a clay soil) or spread out (like the particles in sandy soil). The “rain drops” were then instructed to try to wiggle their way through the soil; without knocking each other over of course! We talked about the relative ease with which each group of “rain drops” could move through the “soil” particles, and how that translates into how much water runs into the ground during rain in different types of soil. We also talked about what those differences might mean to animals and plant roots living in the soil. We switched back and forth between one group and the other so that all would have the chance to represent both the soil and the rain.
A second activity related to this concept was the creation of model soil horizons from different types of cereals, as this (very!) brief YouTube video shows. Pouring milk into the model shows how water percolates through the soil layers, and when the model is complete, you have a snack! https://youtu.be/4EjO678g-n4 While we didn’t do the milk part of the modeling at the park, the kids were sent home with their completed models sealed in sandwich bags, to percolate and eat later if they chose. In a clear plastic cup, a layer of Kix cereal represents the largest grains, or rocks, at the bottom. A layer of crisp rice cereal represents the next sandy or silty horizon, followed by the humus layer represented by Cocoa Krispies. A spoonful of raisin bran on top represents the leaf litter and other detritus found on the ground. While we didn’t add the gummy worm, as in the video, it makes a nice touch! Pouring milk through the model allows the kids to study how the rain water would move through and among the various grain sizes in the soil. A complete overview of the activity, and other related activities can be found here: http://www.agintheclassroom.org/TeacherResources/AgMags/Interactive_soil_agmag.pdf
Next came what several kids enthusiastically declared to be the best part: mud painting! Buckets of dirt from the library’s construction area and my home garden were supplied, along with plastic spoons, plastic condiment cups, 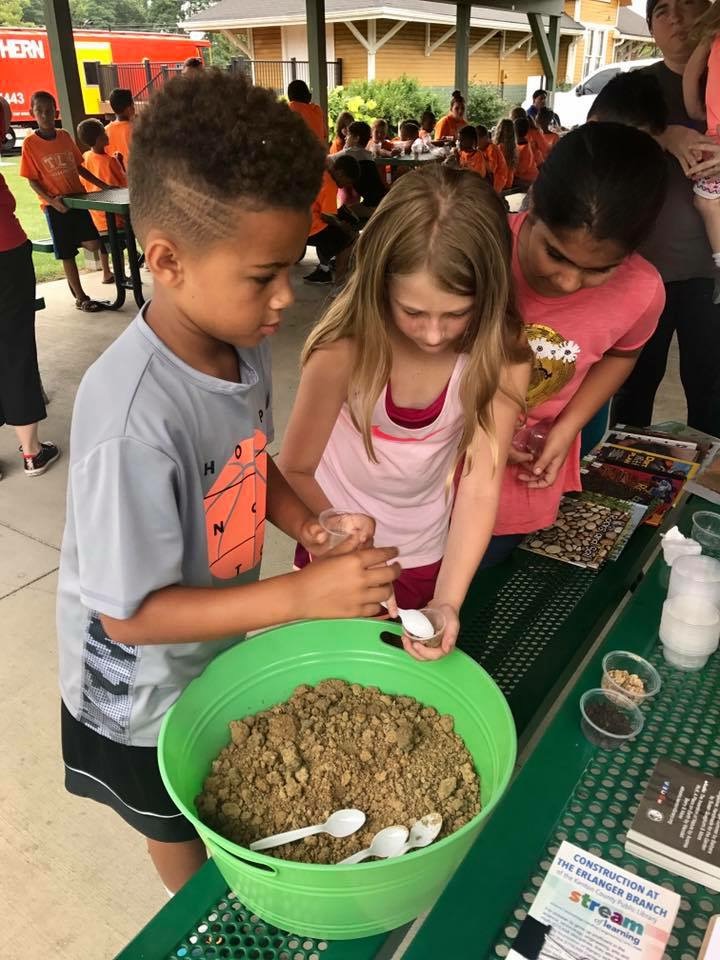 and bottled water. The dirt from two very different locations assured that there
 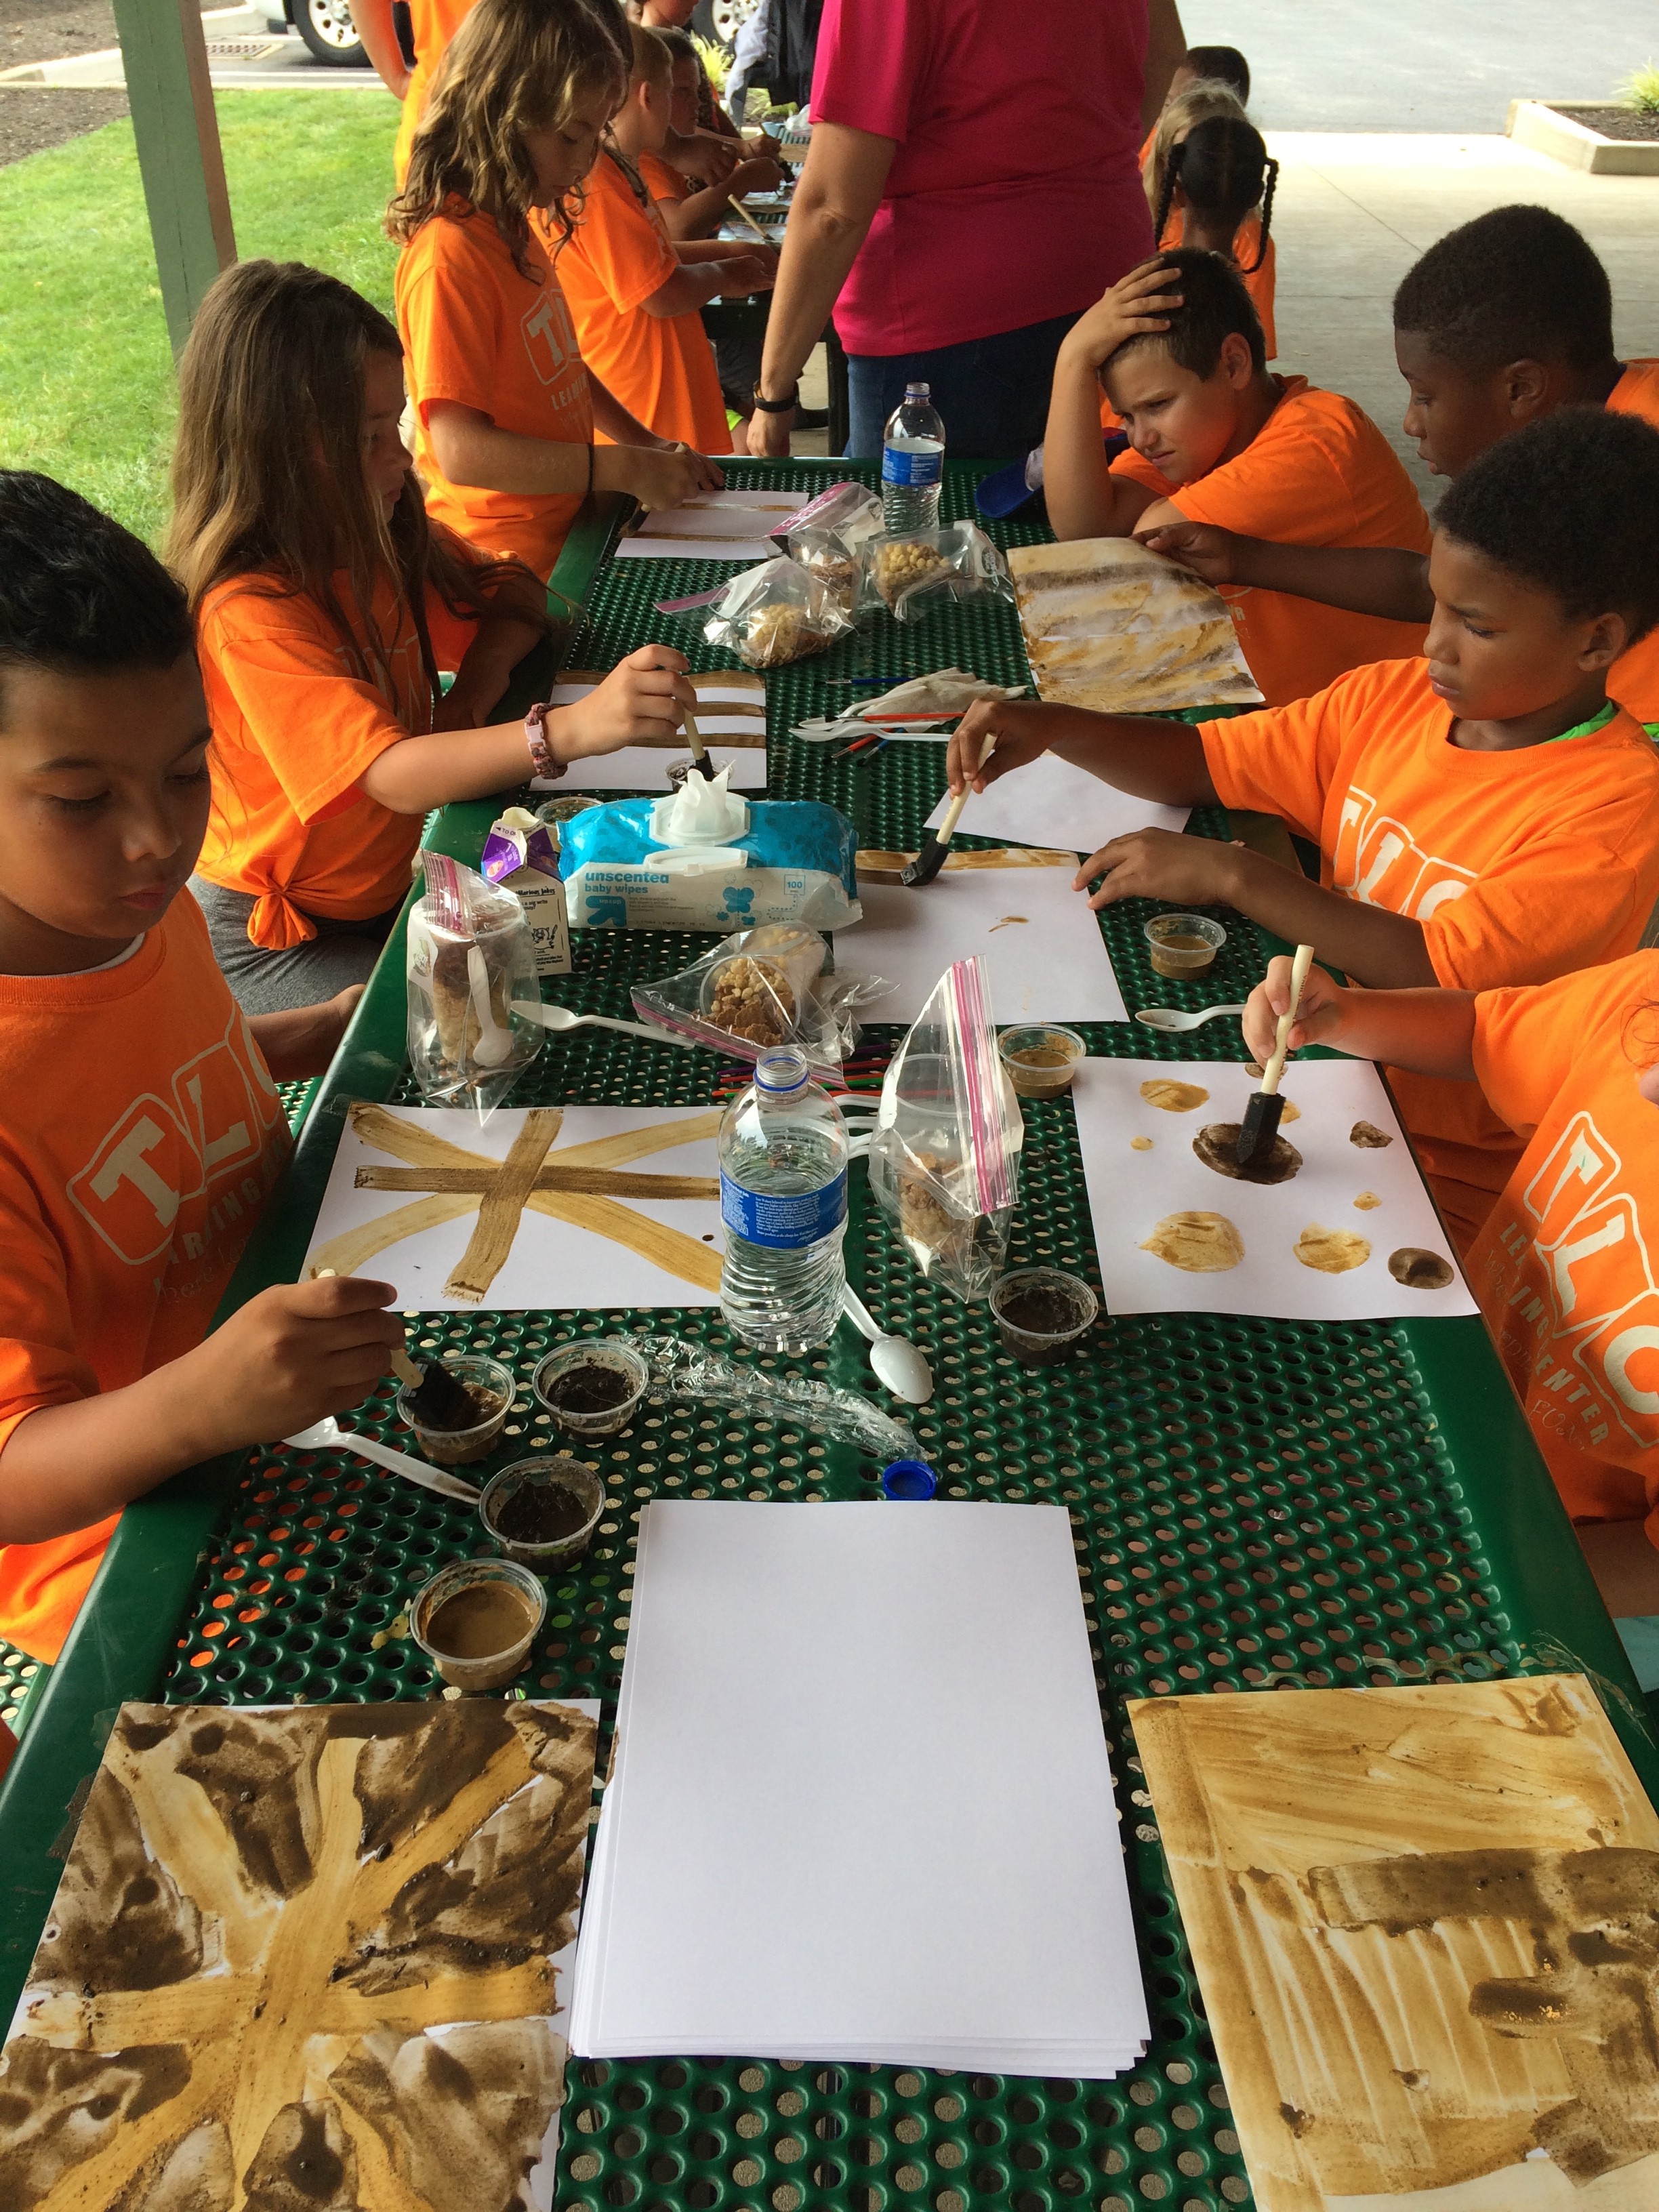 were distinct colors of dirt for the paint. More colors and types of dirt could be used, but in this setting two was plenty. The kids were allowed to fill the small cups with dirt from the buckets, then instructed to add water, a little at a time, to their cups of dirt at the tables. Some created very runny paint, and some had very thick paint; this allowed them them compare textures, colors, and drying time of their finished pieces as well! They were given regular small paintbrushes and foam brushes to work with. A few even painted with their fingers. One girl declared that she was “going to do this all the time at home!” Hopefully her parents will be supportive of that idea.
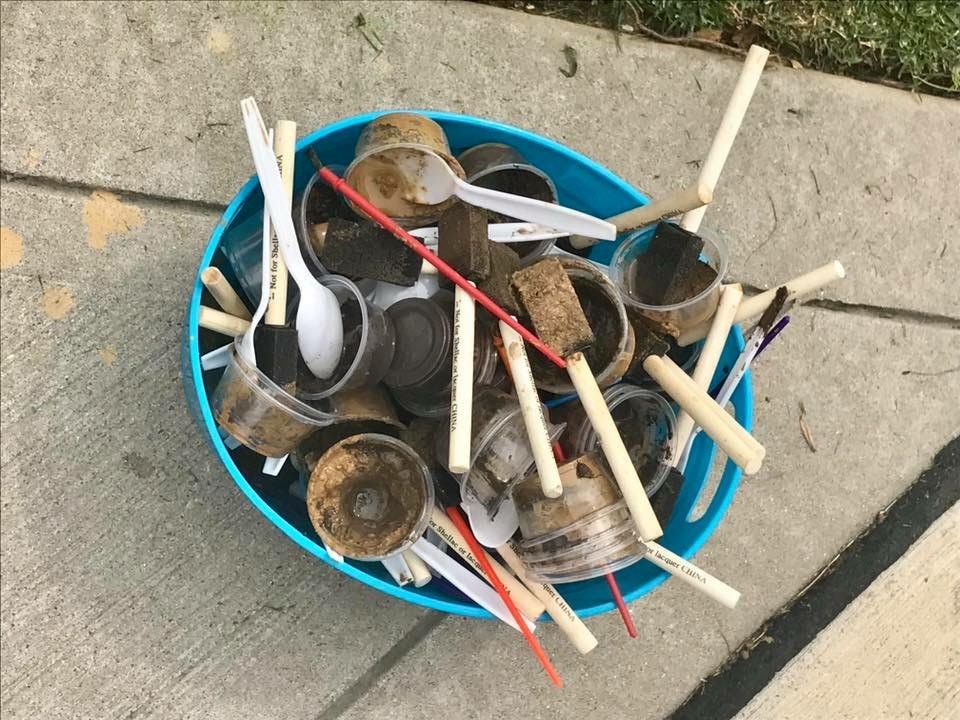
In all, we learned a lot about soils and had fun with mud. The outdoor setting was perfect for this theme, and made clean up much simpler for the tables and floor. Hosing off the area is certainly easier than sweeping up spilled dirt and mopping mud. All things considered, there was limited mess. Most of the mud paintings were basically dry when it was time for people to leave, in spite of very humid (and on Tuesday, raining!) weather. We did discover that painting on card stock worked better than the paper plates we used for the first try. And we did save the plastic cups, the spoons, and the paintbrushes and foam brushes. After washing them they were stored, because I plan to do this again in the future!
Leave A Comment